How to Turn a 2D Image Into a 3D Model
A flat picture has no back, no sides and no depth. Every 2D to 3D method has to get that missing shape from somewhere. This guide shows the three real ways to do it, and how to pick the right one for your picture.
By the Bake3D teamUpdated 7 min read
Short answer
To turn a 2D image into a 3D model, you can use an AI image-to-3D tool, which guesses the hidden sides from one picture in minutes. You can scan a real object with photogrammetry, which needs dozens of photos from all around it. Or you can model it by hand in a program like Blender, using the picture as a guide. For printing a flat picture, a relief or a lithophane may be all you need.
How we checked this: The AI steps, limits and prices are from the Bake3D studio as it works today. The photo scanning and hand modeling steps follow the public documentation linked below. We did not benchmark third-party apps.
Picture a photo of a toy dog, taken from the front. You can see its face, its front legs and a bit of its sides. You cannot see its back, its tail or the bottom of its paws. A 3D model needs all of those. So the real question is: who fills in the parts the photo does not show?
There are three answers. An AI can guess them. More photos can show them. Or a person can build them by hand.
The three ways at a glance
| Method | What you need | Time | Best for |
|---|---|---|---|
| AI image to 3D | One picture | Minutes | Characters, creatures, props, drawings |
| Photogrammetry | 30 to 200 photos of a real object | An hour or more | Real objects you can walk around |
| Modeling by hand | A picture as a guide, plus skill | Hours to days | Exact shapes, clean topology, full control |
There is also a fourth, flat option. If you only want to 3D print the picture itself, like a logo or a photo lamp, you may not need a full model at all. See flat options below.
Way 1: AI image to 3D from one picture
An AI image-to-3D tool has learned from many 3D shapes. It looks at your picture and predicts the full object, including the sides it cannot see. You get a textured 3D model in one step.
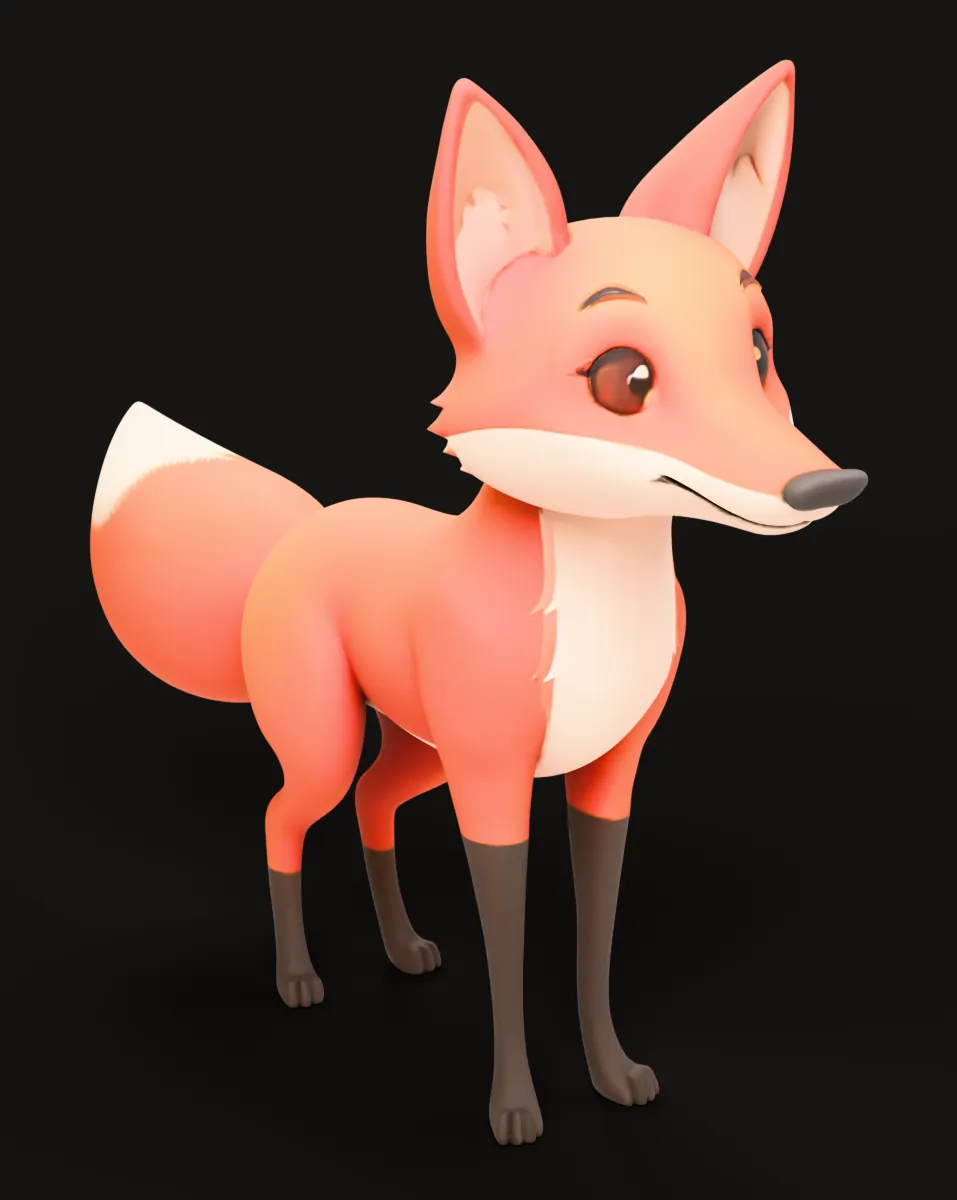
Here is how it works in Bake3D:
- Pick your picture. Use PNG, JPG or WebP, up to 12 MB. One clear subject works best.
- Upload it in the studio and choose a quality level. Draft costs 30 credits, Standard 40 and High 55.
- Choose whether to rig it. A rig adds a skeleton so the model can move. It costs 25 credits more and includes a four-second starter animation.
- Inspect the model. Turn it all the way around. The studio also shows seven views: front, back, both sides, top, bottom and three-quarter.
- Export it. Download GLB or FBX for games and animation, or STL and OBJ for printing and modeling.
If you have two to four pictures of the same subject from different sides, you can add them as extra views for 10 more credits. Extra views give the AI less to guess.
What AI does well: stylized characters, animals, creatures, toys, props and concept art. It is also the only quick way to get a 3D model from a drawing of something that does not exist.
What AI struggles with: exact sizes, small text, thin wires, see-through glass, mirror-like metal, and parts hidden behind other parts. The back of the model is a smart guess, not a fact.
How to choose a good picture
The picture matters more than the settings. Use this checklist:
- One subject. Crop out other people, pets and props.
- The whole thing. Do not cut off feet, ears, wheels or the tip of a tail.
- A plain background. Busy scenes can blend into the model.
- A three-quarter view if you can. It shows the front and one side at once.
- Even light. Hard shadows can look like dents or holes.
- Separate limbs. Arms pressed to the body, or legs crossed, often fuse together.
- Sharp focus. Motion blur hides edges.
You do not need a huge file. About 1,000 pixels on the long side is plenty. A clean shape matters more than extra pixels.
Way 2: Photogrammetry (scan a real object)
Photogrammetry builds a model from many photos of a real object. Software finds the same points in different photos and works out where they sit in 3D space. Nothing is guessed. Every side you photograph is measured.
To scan an object:
- Put it in soft, even light. A cloudy day outdoors works well.
- Walk around it in a slow circle. Take a photo every few steps, so each photo overlaps the last one by a lot.
- Do a second circle higher up, looking down, and a third lower down.
- Load the photos into a photogrammetry app or program and let it build the model.
- Clean up the result. Delete the floor and any stray bits.
Photogrammetry is great for real objects: a sculpture, a shoe, a rock, your pet’s toy. It does not work for a drawing, a photo you found online, or something that does not exist. Shiny, clear and very dark objects are hard to scan. So are pets and people who will not stay still.
Way 3: Model it by hand
A 3D artist can build the model in a program such as Blender, using your picture as a guide.
- Add the picture as a reference image behind the scene. Blender can load images as reference objects.
- Block out the big shapes with simple forms, like cubes and spheres.
- Refine the shape, then add detail.
- Unwrap the surface and paint or project the texture.
- Add a rig if it needs to move.
This takes the most time and skill, from hours for a simple prop to days for a detailed character. In return, you control every edge. Game studios often still model hero characters by hand, or use an AI model as a starting block and rebuild it.
Flat options: relief and lithophane
Sometimes you do not need a full 3D model. If you want to 3D print the picture itself, a flat print may be better.

- Relief. Bright parts of the picture rise up from a base, like a coin or a stamp. It works well for logos, text and line art. Try our free image to STL tool.
- Lithophane. Dark parts of the photo become thicker plastic. When you shine a light through the print, the photo appears. Try the free lithophane maker, and read how to make a lithophane.
Both run in your browser. Nothing is uploaded. Our guide on how to 3D print a picture explains when to pick each one.
Turning a drawing or sketch into 3D
Drawings work well with AI, with a few tips.
- Draw the whole character. A bust will give you only a bust.
- Use clean outlines. Rough sketch lines can turn into bumps.
- Add simple shading. Flat line art has no depth clues. A little shadow on one side shows the AI which parts stick out.
- Keep limbs apart. Leave space between the arms and the body, and between the legs.
- Show more sides if you can. A front view plus a side view gives the AI far more to work with. A character turnaround sheet is the best input of all.
Which method should you pick?
- You have one picture or a drawing and want a model fast: use AI image to 3D.
- You have the real object and need its true shape: use photogrammetry.
- You need exact sizes, clean topology for a game, or a very specific style: model it by hand, maybe starting from an AI draft.
- You only want to print the picture as a wall piece or a lamp: make a relief or a lithophane.
Check the model before you use it
Whatever method you pick, look at the result closely.
- Turn it all the way around. Check the back and the bottom, where guesses happen.
- Count the parts. Four legs? Two ears? One tail?
- Look for holes and floating bits.
- Check the size. Models often come in at the wrong scale. Set it before printing or placing it in a scene.
- For printing, open the STL in our STL checker to find open edges and flipped faces.
What to do with your new 3D model
Once the shape is right, you can:
- Animate it. Rig it and add motion. See how to animate a 3D model.
- Put it in a game. Import the GLB or FBX into Unity, Unreal Engine, Godot or Blender.
- Print it. Export STL or 3MF. Our 3MF vs STL guide explains which one to pick.
- Turn it into a figurine. See how to make a custom figurine from a photo.
Ready to try it? Start on the image to 3D page. Your first rigged model is covered by the free sign-up credits.
Questions people ask
Can I turn a 2D image into a 3D model for free?
Yes. New Bake3D accounts get 70 free credits, which covers one rigged 3D model at standard quality. Blender is free for modeling by hand. Our image to STL and lithophane tools are free and run in your browser.
Can AI turn a drawing into a 3D model?
Yes, if the drawing is clear. Use one character on a plain background, show the whole body, and add simple shading so the AI can read the shape. A clean side view or a turnaround sheet helps even more.
What is the best picture for image to 3D?
One subject, fully in frame, on a plain background, seen from the front or at a three-quarter angle. Even light, no motion blur, and limbs that do not overlap the body. About 1,000 pixels on the long side is plenty.
Is a 3D photo on Facebook the same as a 3D model?
No. A social media 3D photo is a depth effect. The picture tilts a little as you scroll, but there is no back or sides. A 3D model is a full shape you can turn all the way around, print or animate.
Can I 3D print a model made from a picture?
Yes. Export it as STL or 3MF, set the size in millimetres, and check it for holes before slicing. Our free STL checker shows open edges, flipped faces and the real size.
Sources
About this guide
Written and kept up to date by the Bake3D team. We build a tool that turns one image into a textured, rigged and animated 3D model, and we test the steps in our guides on our own files. First published . See how we write and check guides, or send a correction to hello@bake3d.ai.
Keep reading
Start here
From one image to a rigged 3D character
Prepare an image, generate a textured 3D model, check its rig and create an animation you can export to your editor.
Reference images
How to Make a Character Turnaround Sheet
Make a character turnaround sheet that 3D artists and AI tools can use: which views to draw, how to line them up, and the mistakes to avoid.
3D printing
How to 3D Print a Picture: Relief, Lithophane or Full Model
Three ways to 3D print a photo or picture: a raised relief, a backlit lithophane or a full 3D model. Settings, checks and limits for each one.