From one image to a rigged 3D character
Prepare an image, generate a textured 3D model, inspect its rig and create an animation you can export to your editor.
By Bake3D · Updated
Testing scope: The image-to-mesh-to-rig workflow and described-motion export were exercised on Bake3D, followed by native Blender 4.4 import. Individual input quality still varies.
A useful image-to-3D workflow has more than one checkpoint. A model can look convincing from the front while its back, joints or skin weights still need work. Inspecting each stage is faster than discovering a problem after you have built a scene around it.
Choose an image the reconstruction can read
Use one subject, fully inside the frame. A three-quarter view often reveals more of the body than a flat front view. Keep limbs, wheels, wings and other moving parts separated in the silhouette where possible. Avoid cropping the feet or the end of a tail.
A clean background reduces ambiguity. Strong shadows, overlapping props and motion blur can look like part of the object. If you are working from a drawing, make the intended shape clear before adding tiny surface detail. Upload PNG, JPEG or WebP, up to 12 MB.
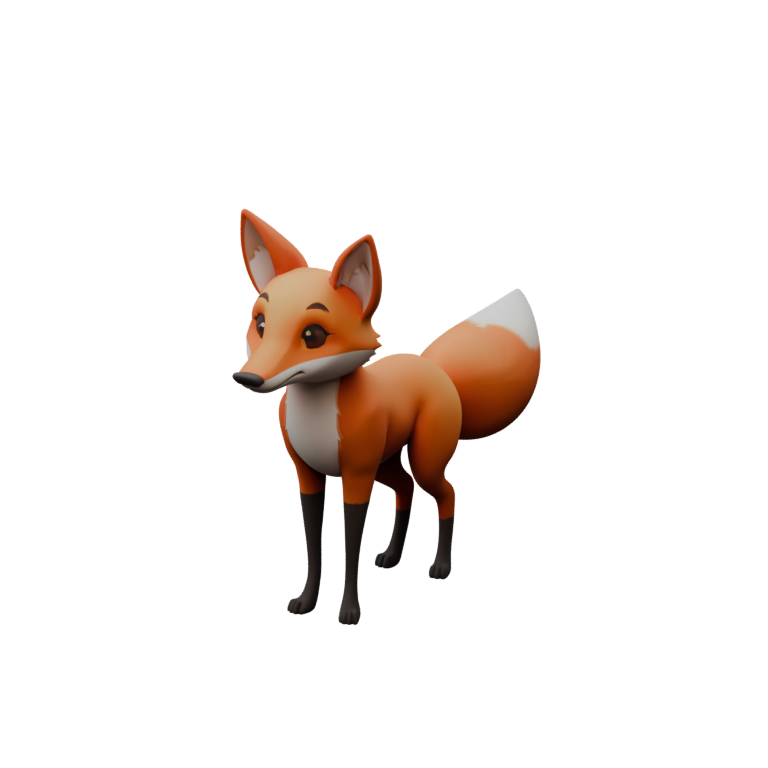
This fox is a workflow example, not a required body type. Bake3D also targets non-humanoid creatures, mechanical assemblies and unusual objects.
Generate and inspect the mesh
Open the studio, start a new bake and upload your image. Choose a quality level and keep rigging enabled if you want to animate the result. The mesh and rig together use 35 credits; the starting 60 credits cover a first attempt without a payment card.
Keep Initial animation enabled to create a four-second introductory loop from the completed rig at no extra credit charge. The saved motion loads in the studio when ready, unless you have already chosen another program. Reduced-motion preferences prevent automatic playback. You can turn the option off when you only need the mesh and rig.
Generation time depends on the input, selected quality and service queue. When the mesh is available, orbit around it. Check the back and underside, count the visible appendages, and look for surfaces that were joined or cut off. A later rig cannot reconstruct geometry that is missing from the mesh.
If the shape is wrong, improve the source image or generate another mesh before spending time refining motion. A successful job status means the workflow completed; it is not a guarantee that the asset is ready for production.
Check the rig before adding a complex action
View the skeleton and the rig-check preview. Joints should correspond to the parts that need to move. Separate tentacles, wheels or wings need their own useful controls. A seated or hanging creature should retain that rest pose rather than being forced into a standing template.
Start with a small motion. Turn the head, bend one appendage or rotate one mechanical part. Watch nearby surfaces: they should follow only when that movement makes sense. The rig quality checklist explains what to inspect.
Describe a specific animation
The included introduction gives you a first motion to inspect. If it could not finish, use Create included animation in the Motion tab to recover it for free. Recovery is bounded to three jobs per rig per UTC day and six starts per account in 24 hours. The rig remains available if motion authoring fails; check the reported warning and its labels before retrying.
A prompt such as “turn the head slowly to the left, pause, then return” gives more direction than “make it realistic.” Include the action, energy, timing and whether the body should travel or remain in place. Ask for a loop when you need repeatable game animation.
Described motion uses 5 credits. Review the result at normal speed and by scrubbing individual frames. Check the loop boundary and foot contact rather than relying on a single attractive frame.
Export and check the destination
Choose a rigged GLB for the rest pose or an animated GLB with baked keyframes. Use in-place motion for a stationary preview; preserve root travel when your game or scene should use it.
Follow the Blender guide, Unity guide, or the editor integration reference. Confirm textures, scale, the skeleton and animation in the destination before replacing an existing production asset.