Photo to 3D model
Photograph an object. Get a 3D model that moves.
A photo carries more than the object: light, shadow, background and lens. Bake3D removes the background and reconstructs the subject, but a photograph taken with the generator in mind produces a far better mesh. Here is how, and when a flat photo relief is the honest answer.
JPEG, PNG or WebP up to 12 MB · automatic background removal · 35 credits for mesh and rig
Maintained by Bake3D · Updated
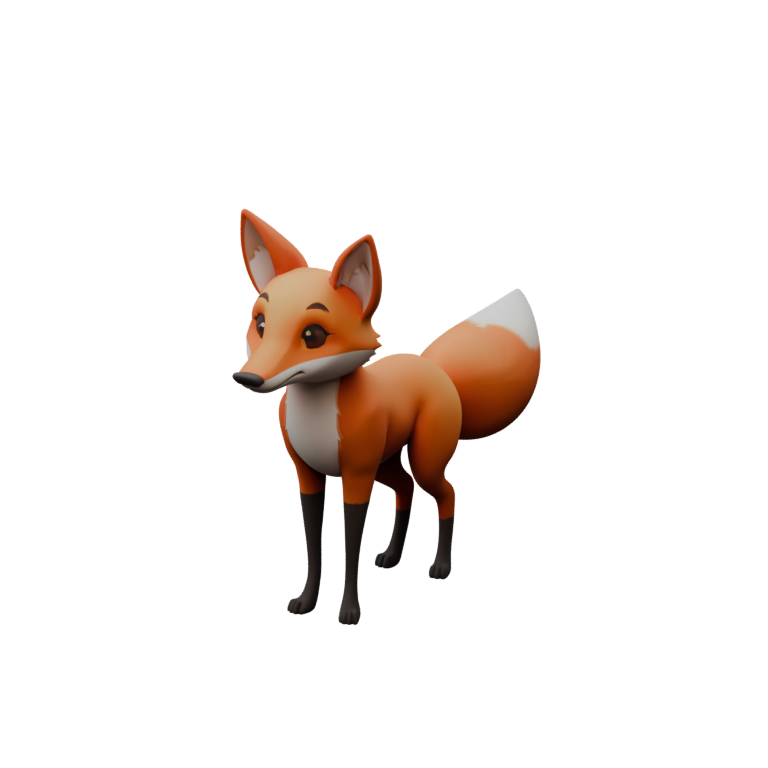
From one photograph to a rigged model.
- 1
Shoot the object
One subject, plain background, soft even light, three-quarter angle, whole object in frame. Phone cameras are fine; the generator wants a clean silhouette more than megapixels.
Shooting guidance below - 2
Upload and generate
Bake3D removes the background automatically, analyses the subject and generates a textured mesh with PBR maps. Compare the seven rendered views with your photo before spending anything on a rig.
25 credits - 3
Rig for the real shape
The rig stage plans joints from the mesh itself, so a photographed toy car gets wheel pivots and a photographed figurine gets limbs, without a humanoid template being forced on either.
Rig checklist - 4
Animate and export
A free introductory loop plays after rigging. Describe further motions, then export a rigged or animated GLB, or a geometry-only STL if the goal is a print.
Printing route
Photographs that reconstruct well.
Light softly and evenly. The generator interprets shading as surface. A hard flash creates a bright hotspot and a deep shadow that become a bump and a dent in the mesh, and specular highlights on glossy toys turn into flat white patches in the texture. Window light on an overcast day, or two lamps bounced off a wall, gives the flattest, most honest lighting.
Use a plain background with contrast. Background removal is automatic, but it works best when the object’s edge is unambiguous. Put a dark object on a light sheet of paper and a light object on a dark one. Avoid backgrounds that share colours with the subject, patterned fabric and other objects in frame, all of which can leave fragments attached to the reconstruction.
Choose the angle for the silhouette. A three-quarter view from slightly above shows the front, one side and the top at once, which is the most information a single photo can carry. Keep limbs, wheels, handles and tails separated from the body in the outline. Fill the frame but leave a margin; a cropped foot cannot be reconstructed.
Shoot more than one angle if you can. Bake3D accepts up to four photographs of the same object in one job. Keep the object, the lighting and the distance fixed and walk around it: front three-quarter first, then the back, a side, and the top if the top matters. The first photo is the primary reference used for the source review; the others are given to the geometry engine when it reads several views, which is the case for the primary engine but not for the fallback engine, and the finished job reports how many were used. Do not move the object between shots and do not include a different pose.
Photograph the object, not the scene. Shadows on the table become geometry, so raise the object slightly or shoot from an angle where the shadow falls behind it. Remove packaging, stands and hands. If the object is symmetrical, a straight three-quarter view helps the generator infer the far side; if it is not, the far side will be guessed and you should inspect it closely.
Full 3D model, or a photo relief?
“Photo to 3D” covers two different jobs, and choosing the right one saves credits and disappointment. A full 3D model has a back, sides and a base you would recognise from any angle: a toy, a figurine, a pet, a tool, a car. That is what the credit-based generator makes, and what this page is about.
A photo relief or lithophane is a flat plate whose thickness follows the picture’s brightness. It is the right answer when you want the photograph itself as a printable object: a portrait that appears when backlit, a logo standing proud of a plaque. The free JPG to STL and image to STL tools do this in your browser, without an account or upload, and the image to STL guide compares the three routes in detail.
The test is simple. If the thing in the photo lives on one flat face, use a relief. If it has a silhouette from the side, generate a model. Trying to get a figure out of a heightmap gives you a raised silhouette, and trying to get a portrait out of the full generator gives you a head with an invented back.
What a photo becomes.
- Mesh
- Textured mesh with PBR maps derived from the photo
- Hidden surfaces inferred and shown in seven views
- Normalised scale; set real dimensions in your editor or slicer
- Rig and motion
- Skeleton, skin weights and joint roles fitted to the shape
- Free introductory loop, described motion at 5 credits
- Wheels and rigid parts get their own pivots
- Export
- Rigged or animated GLB or binary FBX
- STL or OBJ of the current pose for printing
- No USD
What photographs get wrong.
- Reflective, transparent and very dark surfaces reconstruct poorly. Glass, chrome and black plastic hide their shape from a camera and therefore from the generator.
- Lighting is baked into the texture. Shadows and highlights in the photo remain in the material maps; shoot flat and let your renderer add light.
- The far side is invented from one photo. A back or side photo of the same object narrows the guess when the geometry engine reads it; asymmetric objects still need a close look at the views no photo showed.
- People and faces are not a good fit for this workflow; fine facial detail and hair are beyond a single-photo reconstruction, and portraits are usually better served by a lithophane.
- Real size is unknown. A 5 cm figurine and a 50 cm one produce models of the same normalised size.
Credits, and whose photo it is.
Costs are the same as any image: 25 credits for the mesh, 10 for the rig, 5 per described motion, with 60 credits free on sign-up and packs from $10 for 500. The free relief and lithophane tools cost nothing and never upload the photo. Credits are charged when a job is accepted and refunded if it fails; see the pricing page.
You must hold the rights to the photograph you upload and to what it shows where that matters. Bake3D does not check ownership and its license covers the transformation, not the underlying picture. Uploads are used only to produce your assets and are not used to train models; the privacy notice describes processing and retention.
Questions before you start.
Can I make a 3D model from one photo, or do I need many?
One photo is enough; up to four of the same object are accepted. Bake3D reconstructs the visible surfaces and infers the rest, then shows seven rendered views so you can judge the inferred sides. Extra angles are read by the primary geometry engine and reduce what has to be inferred; they are not a photogrammetry scan, which needs dozens of overlapping photos and different tools. With one photo, shoot the most informative angle.
What photo resolution do I need?
About 1,000 pixels on the long edge is plenty. Files may be up to 12 MB in JPEG, PNG or WebP. Clarity, lighting and a clean edge against the background matter far more than pixel count.
Will the model keep the photo’s colours and details?
The texture is derived from the photograph, including its lighting, so colours and printed patterns carry over on the visible side. Details smaller than the silhouette can read, such as engraving or fine text, are not reliably reconstructed.
Can I 3D print a model made from a photo?
Yes, with checks. Export a geometry-only STL of the current pose from the studio, run it through the free STL checker for shells, boundary edges and volume, and set the real size in your slicer. A successful generation is not a printability certificate.
Should I photograph my pet for this?
You can, but expect the usual animal problems: fur has no clean silhouette, legs are often together, and the far side is invented. A pet in a relaxed standing pose on a plain floor, photographed from a low three-quarter angle, gives the best chance. The rig stage handles four-legged subjects; see the quadruped guide.
Related
Photograph it, then bake it.
Plain background, soft light, three-quarter view. 60 free credits cover the first mesh and rig.